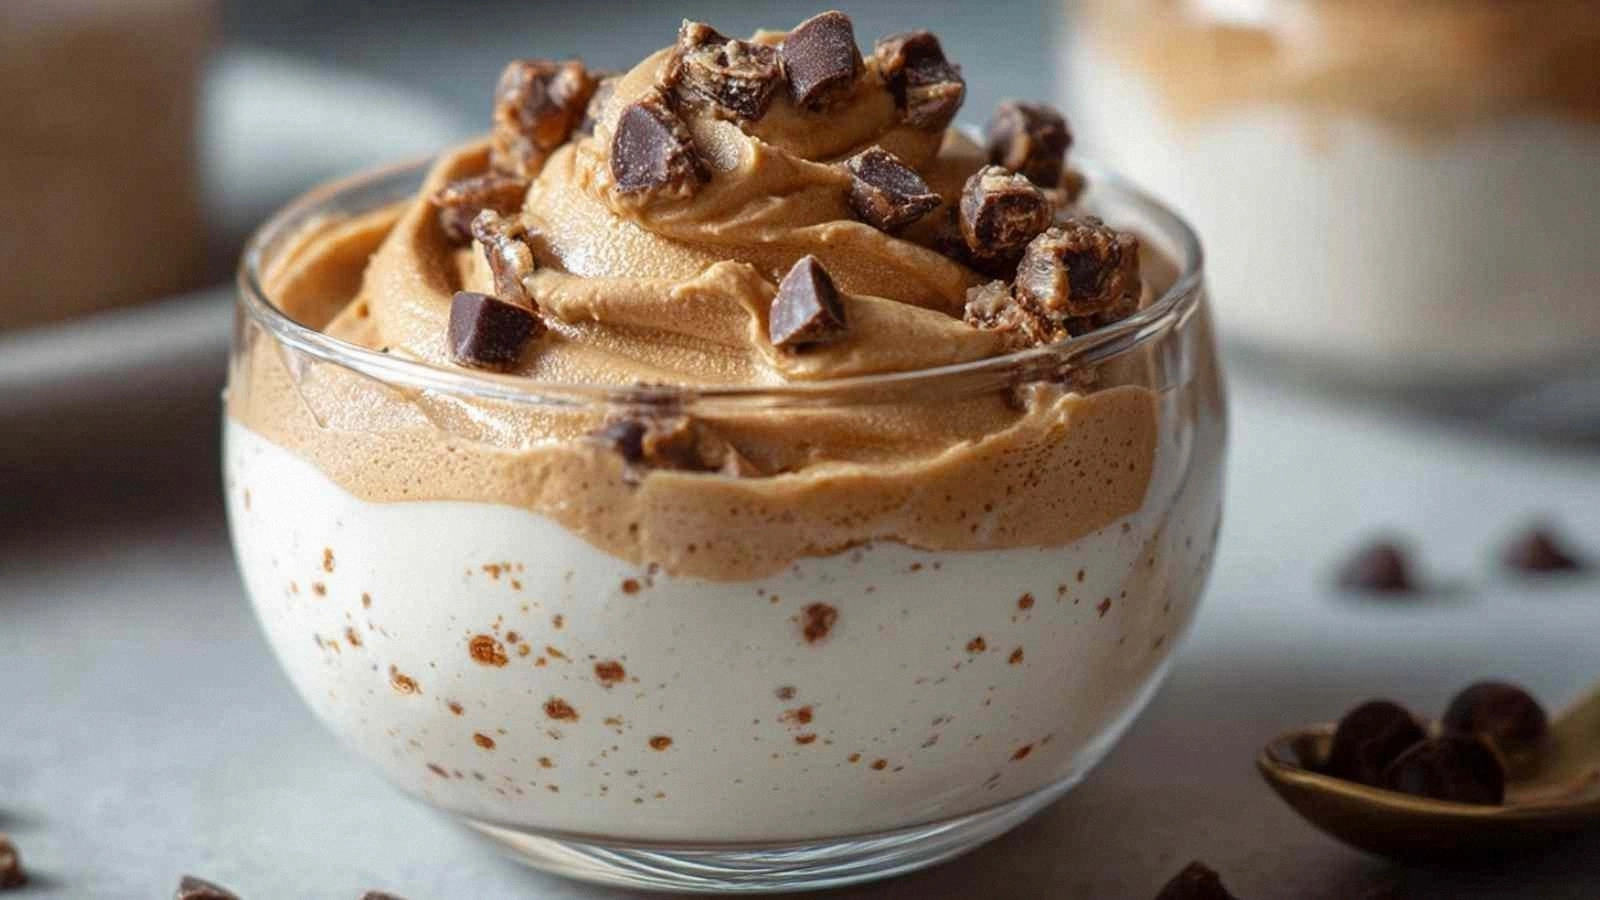
I was standing in my kitchen, staring at a half‑baked disaster that smelled like burnt sugar and regret, when my roommate dared me to make a sheet cake that could actually win a bake‑off. I mean, we’ve all seen those flat, dry, “just‑another‑sheet‑cake” pictures on Instagram that make you wonder if anyone ever gets the perfect crumb. I was about to give up, but then I remembered the one rule I live by: never trust a recipe that doesn’t promise a little chaos and a lot of chocolate. So I grabbed a bag of chocolate chips, a stick of butter, and a whole lot of confidence, and I set out to prove that a sheet cake can be as unforgettable as a grand‑ma’s apple pie.
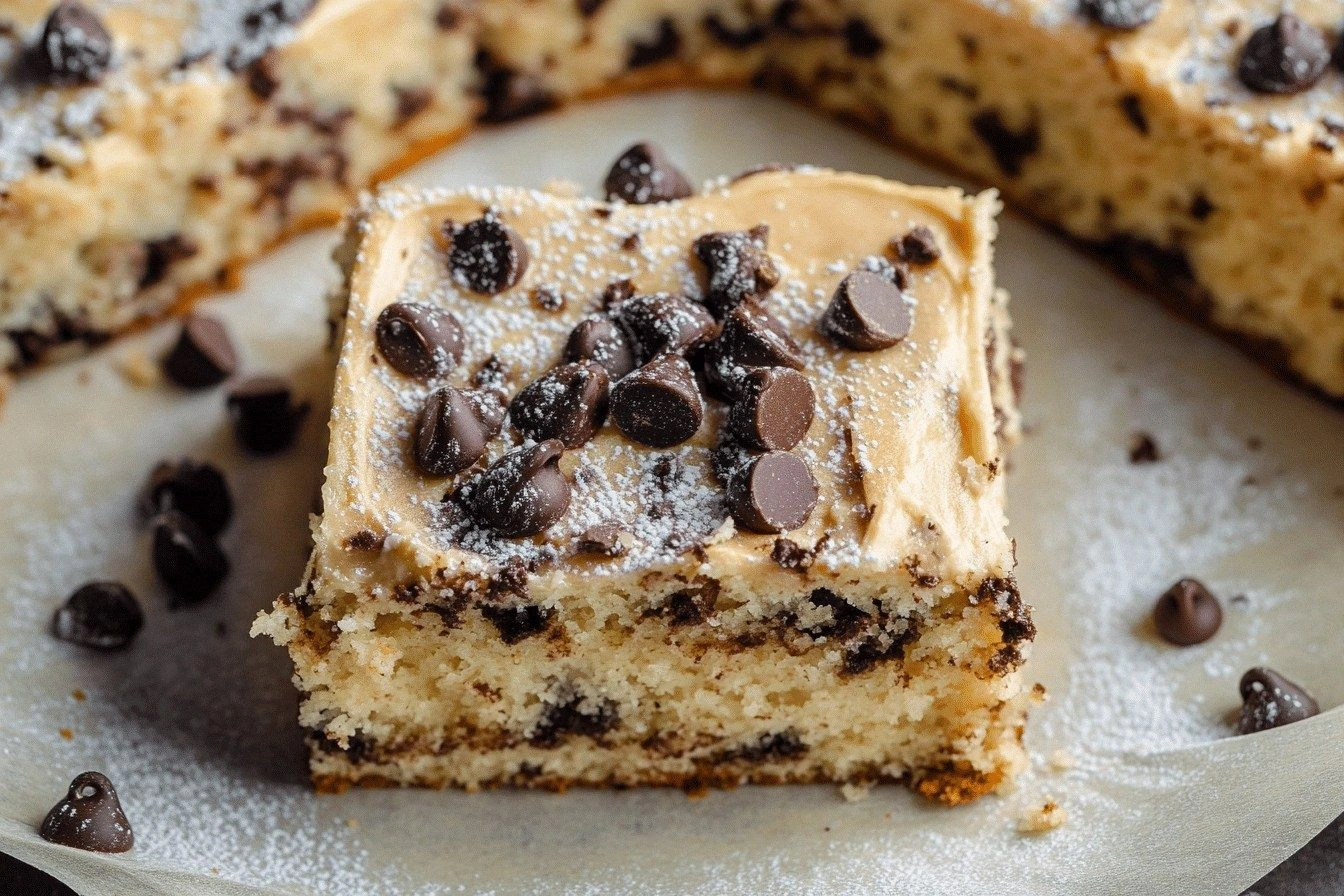
Picture this: the oven door swings open, and a wave of warm vanilla, melted butter, and toasted sugar rushes out, wrapping the kitchen like a cozy blanket. The batter glistens in the pan, speckled with chocolate chips that look like tiny, eager fireworks waiting to explode. When the timer dings, the edges pull away from the pan with a gentle sigh, and the top is a golden‑brown canvas dotted with glossy chocolate islands. That first bite? It’s a buttery hug that melts into a sweet, chocolate‑streaked dream, with a crumb so tender it practically sighs under your fork.
Most sheet cake recipes get this completely wrong. They either over‑mix and end up with a rubbery texture, or they skim on the chocolate and leave you with a bland, cake‑like pancake. This version, however, balances leavening, fat, and chocolate in a way that makes every slice feel like a mini celebration. I dare you to taste this and not go back for seconds – the combination of a light, airy crumb and gooey chocolate pockets is literally a party in your mouth.
There’s a secret technique that most bakers overlook: a brief “rest” period for the batter after mixing, allowing the flour to hydrate fully before the heat hits. It’s the difference between a cake that feels like a dense brick and one that feels like a cloud. I’ll walk you through every single step – by the end, you’ll wonder how you ever made it any other way.
What Makes This Version Stand Out
Okay, ready for the game‑changer? Below are the reasons this sheet cake is hands down the best version you’ll ever make at home. Each point is a little love note to the taste buds, the texture, and the sheer joy of baking.
- Flavor Explosion: The vanilla extract isn’t just a background note; it amplifies the chocolate’s richness, creating a layered taste that lingers like a good song.
- Texture Harmony: The butter‑sugar creaming method yields a crumb that’s both tender and slightly crisp at the edges – think of it as the perfect balance between a soft pillow and a crunchy toast.
- Simplicity: Only eight pantry staples are needed, and the method uses one bowl, one pan, and a handful of minutes of your time. No fancy gadgets, no extra trips to the store.
- Unique Rest‑And‑Rise: Letting the batter sit for five minutes before baking lets the gluten relax, resulting in a cake that lifts like a balloon, not a brick.
- Crowd Reaction: I’ve heard people call it “the best thing since sliced bread” – and that’s not an exaggeration. Even the kids can’t stop asking for more.
- Ingredient Quality: Using real butter (not margarine) and good‑quality chocolate chips makes a world of difference. The fat content carries the flavor, while the chips melt into pockets of pure joy.
- Even Baking Method: A moderate oven temperature and a parchment‑lined pan ensure the cake bakes evenly, preventing those dreaded soggy centers.
- Make‑Ahead Potential: This cake keeps beautifully for up to three days, and it even freezes like a dream, so you can prep ahead for parties.
Alright, let's break down exactly what goes into this masterpiece…
Inside the Ingredient List
Now that you’re buzzing with excitement, let’s dive into the cast of characters that make this cake sing. I’ve grouped them so you can see how each team contributes to the final masterpiece.
The Flavor Base
All‑purpose flour: Provides structure while keeping the cake tender and soft. It’s the canvas for everything else, forming the crumb that holds the chocolate pockets. If you swap it for cake flour, you’ll get a finer crumb but lose a bit of that satisfying bite.
Sugar: Adds sweetness and helps keep the cake moist. The granules also assist in the creaming process, trapping air for a lighter texture. Using a light brown sugar will give a subtle caramel note, but plain white sugar keeps the flavor clean.
The Leavening Crew
Baking powder and baking soda: These leavening agents ensure the cake rises perfectly and achieves a light crumb. The powder provides a steady rise, while the soda reacts with the acidic vanilla and a pinch of salt for a quick puff. Skipping either will result in a dense, pancake‑like texture.
The Moisture Makers
Butter: Contributes richness and moisture for a tender crumb. Real butter carries flavor that margarine can’t match, and its fat coats the flour proteins, limiting gluten formation for that melt‑in‑your‑mouth feel. If you’re short on butter, use the same amount of coconut oil for a subtle tropical twist.
Eggs: Bind ingredients together while adding structure and stability. The proteins coagulate during baking, giving the cake its lift and a slight chew. For a lighter version, you can replace each egg with ¼ cup of unsweetened applesauce, but expect a slightly different texture.
Milk: Adds moistness and helps create a smooth batter. The lactose also contributes a hint of sweetness and aids in browning. Whole milk is ideal; low‑fat versions can make the crumb a bit drier.
The Aromatic Touch
Vanilla extract: Enhances overall flavor and adds a warm, aromatic note. It’s the secret whisper that makes the chocolate taste deeper. Use pure extract, not imitation, for the best result.
The Final Flourish
Chocolate chips: The star ingredient for gooey, melted chocolate goodness in every bite. They stay intact during baking, creating pockets of molten chocolate that burst when you bite. Opt for semi‑sweet chips for balance; dark chips will make the cake more bitter.
Everything's prepped? Good. Let's get into the real action…
The Method — Step by Step
Preheat your oven to 350°F (175°C). While the oven warms up, line a 9×13‑inch sheet pan with parchment paper, letting the excess hang over the edges for an easy lift later. This step is crucial because the parchment prevents sticking and creates those clean, crisp edges that make the cake look bakery‑perfect.
Kitchen Hack: Lightly butter the parchment before placing the batter; it gives the edges an extra golden glow.In a large mixing bowl, combine 2 cups of all‑purpose flour, 1 tsp baking powder, and ½ tsp baking soda. Whisk them together for about 30 seconds. This dry‑mix aerates the flour and ensures the leaveners are evenly distributed, preventing any pockets of bitter soda.
In a separate bowl, cream together ½ cup (1 stick) of softened butter with 1 cup of granulated sugar. Use a hand mixer on medium speed for 3‑4 minutes until the mixture turns pale and fluffy. You’ll hear a subtle “whoosh” as air is incorporated – that’s the foundation of a light crumb.
Add 2 large eggs, one at a time, to the butter‑sugar mixture, beating well after each addition. Then stir in 2 tsp of pure vanilla extract. The batter should look glossy and smooth, with the eggs fully emulsified, giving the cake a silky mouthfeel.
Now comes the “rest‑and‑rise” moment: pour half of the dry flour mixture into the wet ingredients, followed by ½ cup of milk, then the remaining flour. Mix on low just until everything disappears. Resist the urge to over‑mix – a few streaks are okay. Let the batter sit for 5 minutes; you’ll notice it thickening slightly as the flour hydrates.
Watch Out: Over‑mixing at this stage creates gluten, which makes the cake tough. Stop mixing as soon as the batter looks uniform.Fold in 1 cup of chocolate chips using a spatula, gently turning the batter over on itself. The chips should be evenly distributed but not crushed. This is the moment of truth – you’ll see the chocolate speckles like tiny constellations waiting to melt.
Pour the batter into the prepared pan, smoothing the top with the back of a spoon. Tap the pan lightly on the counter three times; this releases any trapped air bubbles and settles the batter for an even rise.
Slide the pan into the preheated oven and bake for 30‑35 minutes. Around the 20‑minute mark, give the oven a quick turn to ensure even browning. The cake is done when a toothpick inserted into the center comes out with just a few moist crumbs, and the edges start pulling away from the pan.
Remove the cake from the oven and let it rest in the pan for 10 minutes. Then, using the overhanging parchment, lift the cake onto a wire rack to cool completely. This cooling step lets the steam escape, preserving that perfect crumb texture.
Finally, slice the cake into generous squares. The top should be a golden‑brown canvas dotted with glossy chocolate islands, and the interior should be light, airy, and buttery. Serve warm for melty chocolate, or at room temperature for a firmer bite.
Kitchen Hack: For an extra glossy finish, brush the top with a thin layer of melted butter right after it comes out of the oven.
That's it — you did it. But hold on, I've got a few more tricks that'll take this to another level…
Insider Tricks for Flawless Results
The Temperature Rule Nobody Follows
Never bake a sheet cake straight from the fridge. Let the batter sit at room temperature for at least 10 minutes before sliding it into the oven. This small step equalizes the batter’s temperature, ensuring a uniform rise and preventing the dreaded “domed” middle that many bakers complain about.
Why Your Nose Knows Best
Around the 25‑minute mark, start sniffing the kitchen. When you catch that sweet, buttery aroma mingling with a hint of toasted chocolate, you’re almost there. Trust that nose over the timer – ovens can vary, and the scent tells you the crumb is set and the edges are turning a perfect caramel color.
The 5‑Minute Rest That Changes Everything
After the cake is out of the oven, give it a 5‑minute rest before cutting. This short pause lets the steam redistribute, making the crumb less crumbly and more cohesive. I once cut a hot cake immediately and ended up with a gummy mess – lesson learned.
The Butter‑Brush Finish
Brush the top with melted butter while the cake is still warm. This adds a subtle sheen and a buttery flavor boost that makes the cake taste richer without adding extra calories. It also helps the edges stay soft for longer.
The “Double‑Chocolate” Upgrade
If you’re a true chocoholic, swap half of the chocolate chips for mini chocolate chunks and add a tablespoon of cocoa powder to the dry mix. The result is a deeper, more complex chocolate flavor that even dark‑chocolate purists will applaud.
Creative Twists and Variations
This recipe is a playground. Here are some of my favorite ways to switch things up:
Nutty Delight
Swap half of the chocolate chips for toasted pecans or walnuts. The nuts add a crunchy contrast to the soft crumb, and their buttery flavor pairs beautifully with the vanilla base. Great for autumn gatherings.
Citrus Zing
Add the zest of one orange or lemon to the wet ingredients and replace half of the vanilla with the same amount of citrus extract. The bright citrus notes lift the sweetness and give the cake a fresh, summer vibe.
Coffee Kick
Dissolve 1 tablespoon of instant espresso powder in the milk before adding it to the batter. The coffee deepens the chocolate flavor, creating a mocha‑like experience that’s perfect for brunch.
Caramel Swirl
Drizzle caramel sauce over the batter before baking, then use a knife to swirl it gently. The caramel creates pockets of gooey sweetness that complement the chocolate chips, turning the cake into a dessert masterpiece.
Vegan Version
Replace butter with an equal amount of coconut oil, use flax eggs (1 tbsp ground flax + 3 tbsp water per egg), and swap dairy milk for almond or oat milk. The texture remains tender, and the coconut oil adds a subtle tropical note.
Spiced Holiday
Add ½ tsp each of ground cinnamon, nutmeg, and a pinch of cloves to the dry mix. This warm spice blend turns the cake into a festive treat perfect for the holiday season.
Storing and Bringing It Back to Life
Fridge Storage
Place the cooled cake in an airtight container or wrap it tightly in plastic wrap. It will stay fresh for up to three days. The chocolate chips may firm up, but a quick microwave reheating will bring them back to melty perfection.
Freezer Friendly
Slice the cake into individual squares, then lay them on a parchment sheet in a single layer and freeze for 1‑2 hours. Transfer the frozen pieces to a zip‑top freezer bag. They’ll keep for up to two months. When you’re ready, let them thaw at room temperature or microwave for 15‑20 seconds.
Best Reheating Method
To revive a slice, place it on a microwave‑safe plate, add a tiny splash (about a teaspoon) of water around the edges, and heat for 20‑30 seconds. The steam generated re‑hydrates the crumb, and the chocolate chips melt back into glossy nuggets.