HOME COOKING
Simple Recipes, Amazing Results
Discover recipes that bring joy to your table. No fancy equipment needed!
22Recipes
6Categories
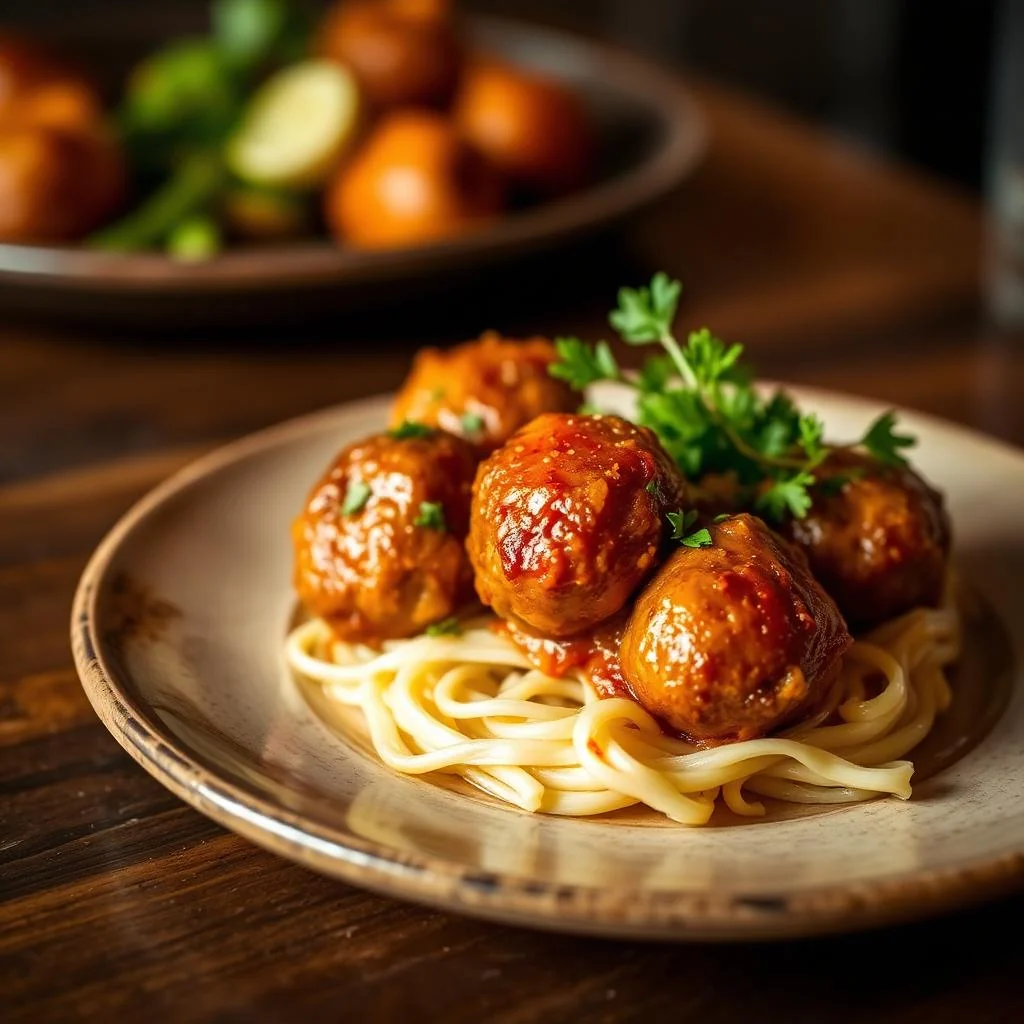
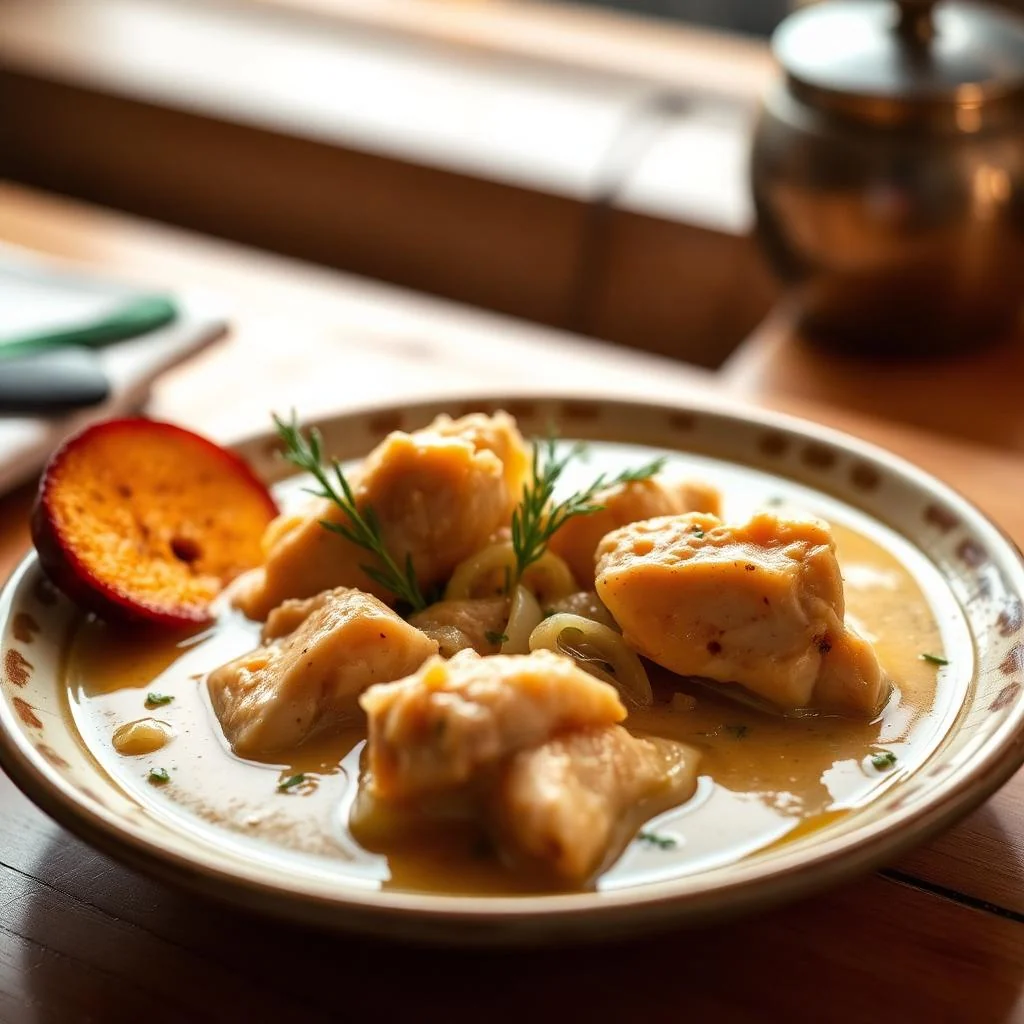
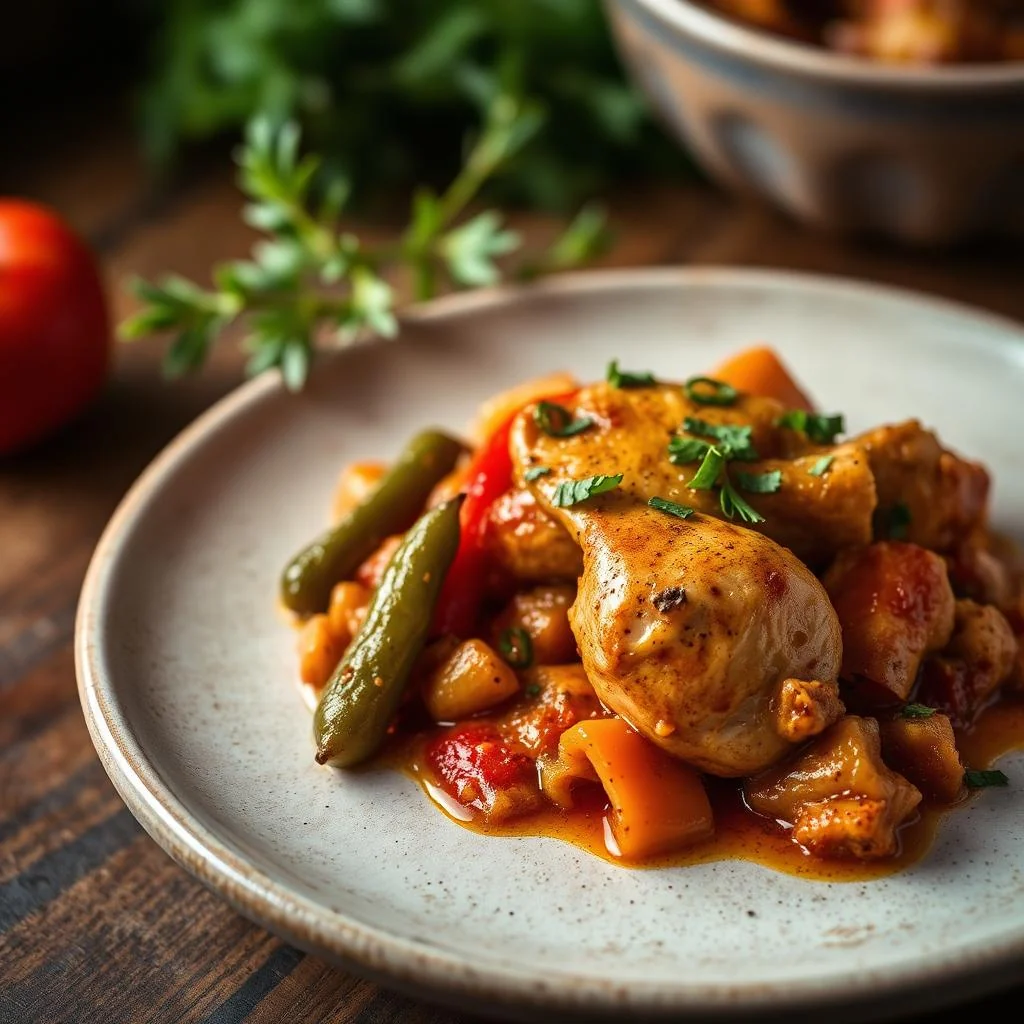
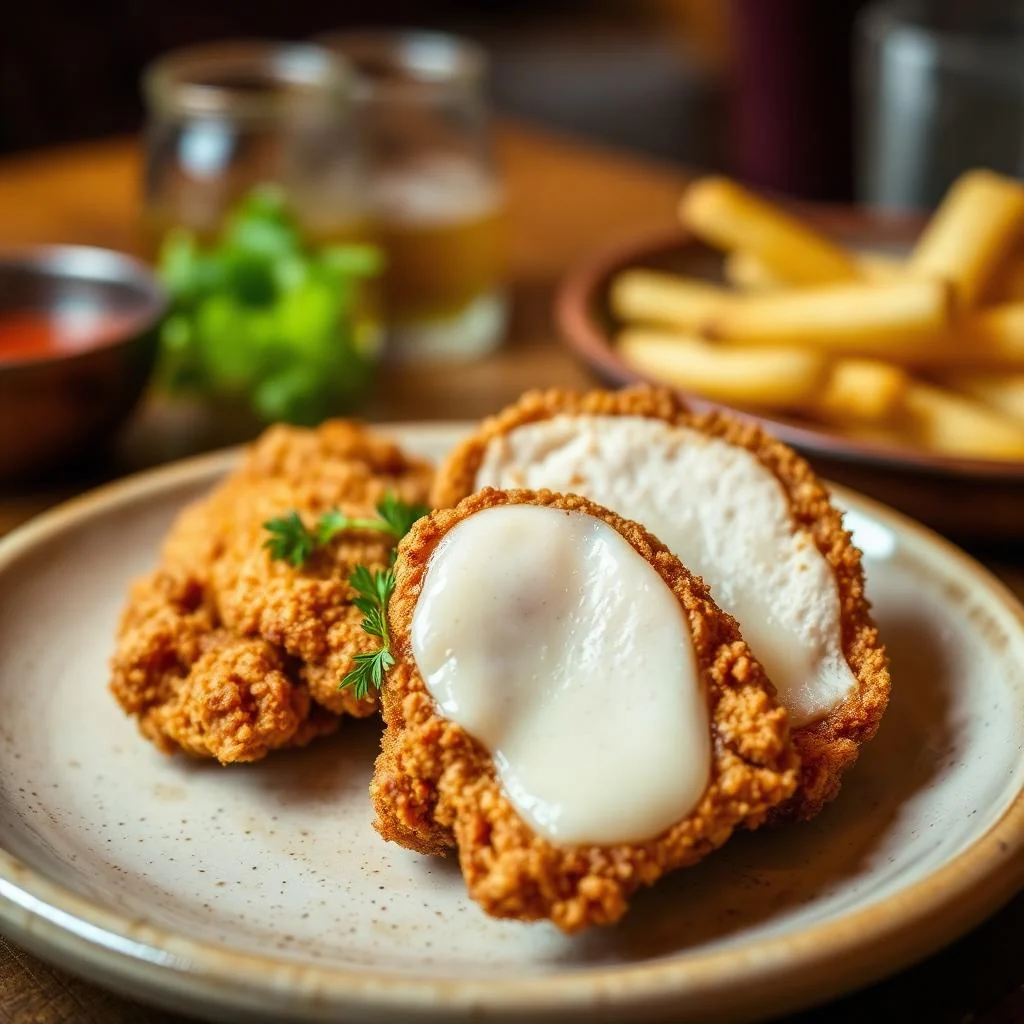
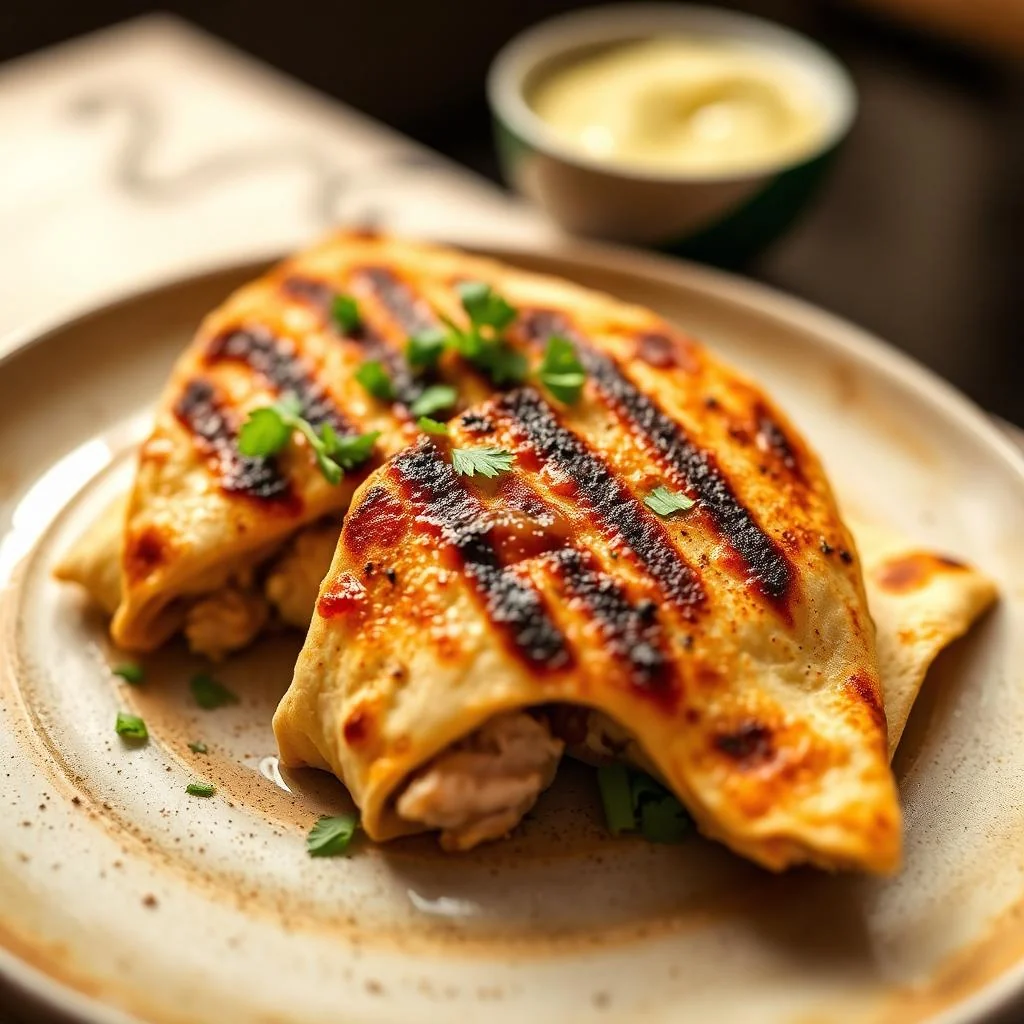
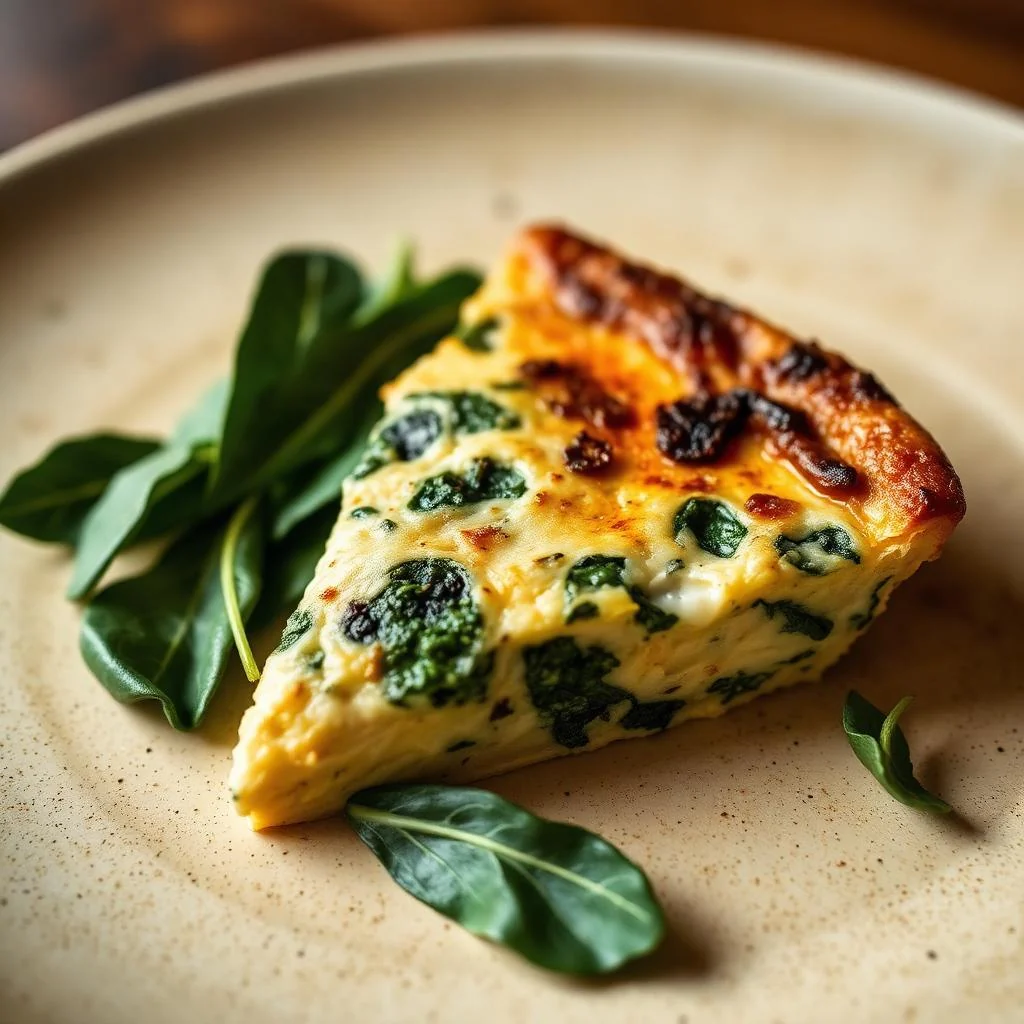
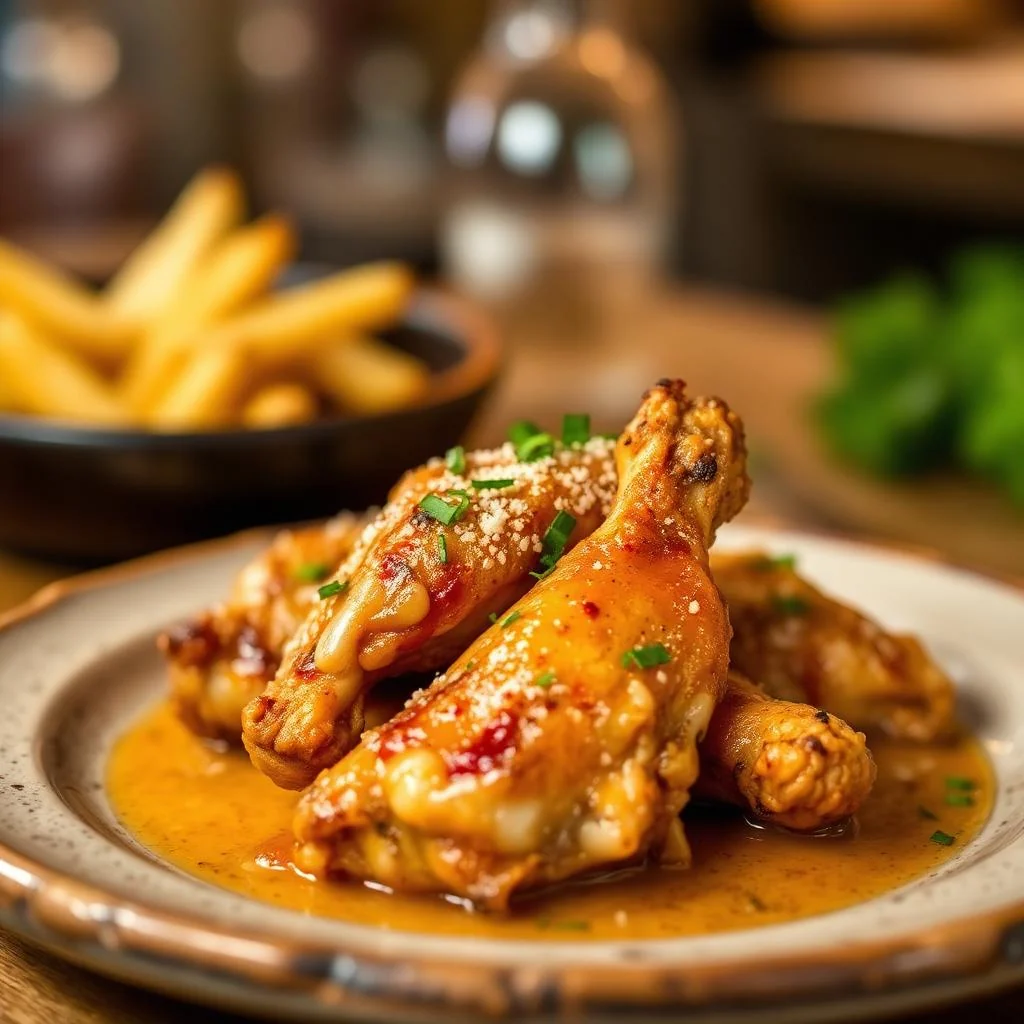
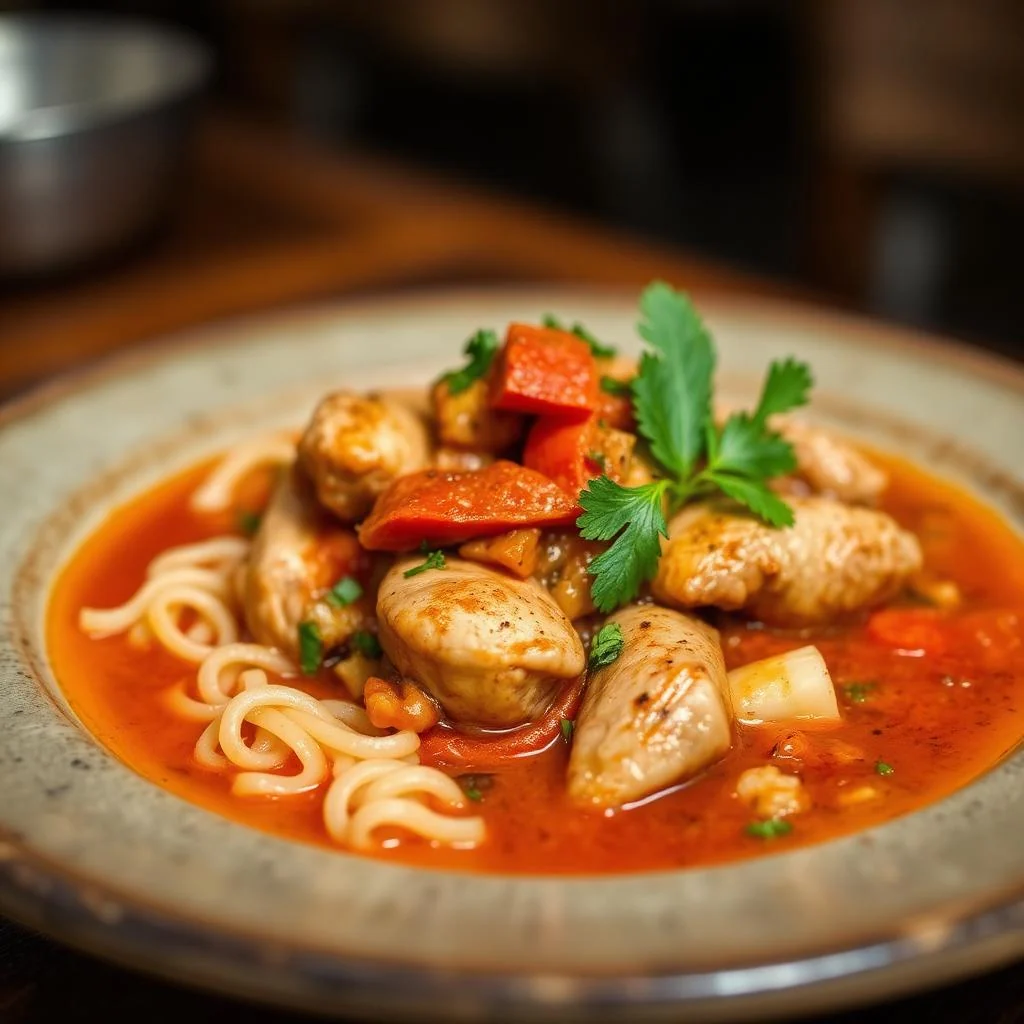
Our Top Recipes

OUR STORY
Hello, I'm Claire Whitaker
I believe cooking should be fun, not stressful. Every recipe here is tested multiple times in my home kitchen!
Read My Story