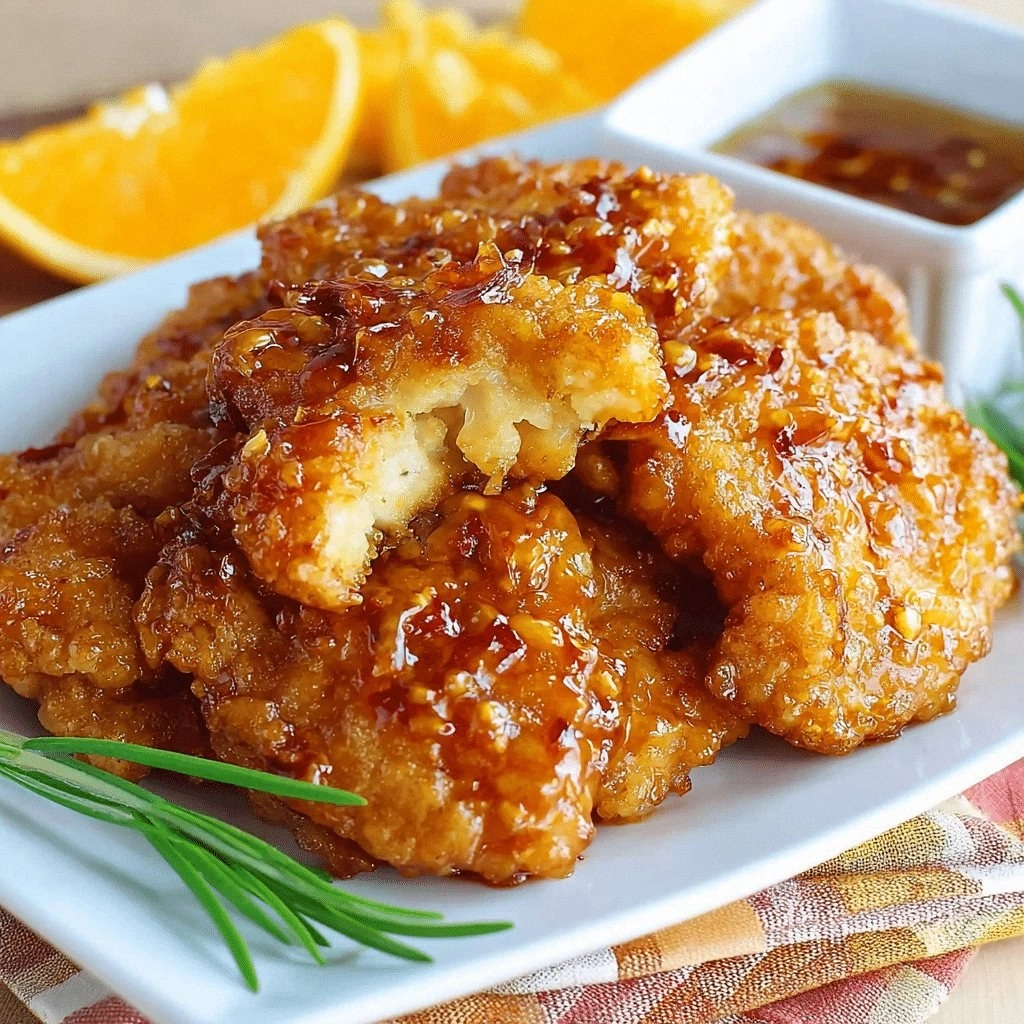
I was staring at a half‑cooked batch of chicken nuggets in the grocery aisle, feeling the familiar pang of culinary boredom that hits every time you’re forced to settle for the same bland snack. The fluorescent lights buzzed overhead, the scent of pre‑seasoned chicken clung to the air, and I could almost hear the collective sigh of the kitchen brigade as they reached for the same old recipe. Suddenly, my phone buzzed with a message from a friend: “You have to try this orange chicken, it’s a game‑changer.” I was instantly hooked—there was a promise of something that would make me forget the usual, tired takeout. I dove into the recipe, and what emerged was a dish that feels like a bright, citrusy fireworks display on a plate, with crisp edges that shatter like thin ice and a glaze that coats the meat like velvet.
Picture the kitchen: the skillet hisses, the oil glistens, and the aroma of garlic and ginger unfurls like a warm hug. The sound of chicken sizzling is almost musical, each pop a note in a savory symphony. The colors—golden batter, bright orange glaze, and a splash of green onion—create a visual feast that makes you want to reach for the fork before you even taste it. The first bite delivers a crunch that snaps, followed by a sweet‑tangy burst that lingers on the tongue, leaving a subtle, smoky undertone that feels both fresh and comforting. If you’re a fan of finger foods that can double as an elegant appetizer or a hearty main, this version of orange chicken bites is the one you need.
What makes this version stand out? It starts with a batter that’s lighter than a cloud yet sturdy enough to hold the sauce. The glaze is a balanced trio of honey, soy, and fresh orange juice that creates a glossy sheen without clinging. The use of cornstarch in the batter gives it a snap that is unmistakably crisp, while the addition of baking powder ensures the pieces rise just enough for a fluffy interior. I dare you to taste this and not go back for seconds—once you’ve had a bite, you’ll be craving the crunch and citrus all day. And the best part? It’s quick, easy, and can be prepared ahead of time, making it a reliable crowd‑pleaser for any gathering.
I’ve tried countless variations of orange chicken, from deep‑fried to baked, from sweet to spicy, but none have matched this version’s harmony of flavors and textures. Most recipes get this completely wrong by using too much flour, which makes the batter heavy, or by over‑simmering the glaze, which turns it into a sticky syrup. Here, the batter is airy, the glaze is just thick enough to cling, and the balance of sweet to savory is spot‑on. The result is a bite that feels like a bright, citrusy fireworks display on a plate, with crisp edges that shatter like thin ice and a glaze that coats the meat like velvet. Picture yourself pulling this out of the oven, the whole kitchen smelling incredible, and knowing you’ve created a dish that will be the talk of the table.
Let me walk you through every single step—by the end, you’ll wonder how you ever made it any other way. This isn’t just a recipe; it’s a culinary experience that invites you to experiment, to tweak, to master the art of crispy orange chicken. I’ll share the secrets that make the batter light, the glaze perfect, and the cooking process foolproof. Ready? Let’s dive in.
What Makes This Version Stand Out
- Flavor: The glaze balances honey, soy, and fresh orange juice to create a sweet‑tangy punch that’s not overpowering.
- Texture: Light, airy batter meets a crisp exterior, while the chicken inside stays juicy and tender.
- Ease: A simple prep time of 15 minutes and a cook time of 30 minutes make this a go‑to for busy nights.
- Versatility: Works as an appetizer, main dish, or party snack—just adjust the serving size.
- Make‑ahead: You can batter and refrigerate the chicken, then fry or bake later without losing crunch.
- Ingredient Quality: Fresh orange juice and real ginger give the dish depth that store‑bought sauces can’t match.
Alright, let’s break down exactly what goes into this masterpiece…
Inside the Ingredient List
The Flavor Base
Fresh orange juice is the star of the show—it brings brightness and a natural sweetness that cuts through the savory. Use a high‑quality, freshly squeezed juice for the best flavor; bottled juice can taste flat and artificial. If you’re in a pinch, a splash of orange‑flavored soda can substitute, but the texture will differ slightly. Orange zest, if you have it, adds an extra layer of citrus aroma; don’t discard it, toss it into the glaze for a more complex profile.
Soy sauce provides umami depth and saltiness, but be careful not to use a too‑salty variety. A low‑sodium soy sauce works best, allowing you to control the salt level. If you’re avoiding gluten, opt for tamari or a gluten‑free soy sauce; the flavor will remain intact. Adding a teaspoon of rice vinegar brightens the glaze and helps balance the sweetness.
Honey is the sweetener that gives the glaze its glossy sheen. It also caramelizes slightly during frying, creating a subtle caramel flavor. If you prefer a less sweet version, replace honey with a light brown sugar or a drizzle of maple syrup. The key is to keep the glaze thick enough to cling but not so thick that it becomes syrupy.
The Texture Crew
All‑purpose flour forms the base of the batter, but the addition of cornstarch creates that coveted snap. Cornstarch is the secret to a light, airy texture because it doesn’t absorb much moisture. Baking powder is a small but essential component; it reacts with the acid in the orange juice, giving the batter a slight lift. Without it, the batter can become dense and heavy.
Eggs act as a binder, keeping the batter cohesive. If you’re vegan or simply want a lighter version, you can use a flaxseed‑egg or a commercial egg replacer. Cold water or sparkling water is added to the batter to create a smooth, pourable consistency; it also helps keep the batter thin enough to coat the chicken evenly.
Vegetable oil for frying should be neutral in flavor and have a high smoke point. Peanut oil or canola oil works wonderfully. For a slightly different flavor, you could use sesame oil, but use it sparingly as it’s quite potent. The oil temperature should be around 350°F (175°C); too hot and the batter will burn, too cool and it will absorb oil and become soggy.
The Unexpected Star
Sesame seeds and sliced green onions add a subtle crunch and a pop of color that elevates the dish. Toasting the sesame seeds before sprinkling them on the finished bites gives a nutty aroma that complements the citrus. Green onions provide a fresh, slightly sharp contrast to the sweet glaze, creating a balanced bite. If you’re allergic to sesame, you can omit the seeds or replace them with crushed almonds for a different crunch.
The Final Flourish
Garlic and ginger bring depth and warmth to the glaze. Freshly minced garlic releases more flavor than pre‑minced, so take a moment to crush it with the flat side of a knife. Grated ginger adds a peppery bite that cuts through the sweetness. If you’re not a fan of garlic, you can reduce the amount or use garlic powder; the result will be slightly milder but still delicious.
Sesame oil is the finishing touch that gives the dish a subtle nutty aroma. A few drops of sesame oil, added at the end, can elevate the entire flavor profile. If you prefer a milder version, you can skip the sesame oil or use a light drizzle. The final touch of sesame seeds and green onions brings a satisfying crunch and a burst of color that makes the dish visually stunning.
Everything's prepped? Good. Let's get into the real action…
The Method — Step by Step
- Start by whisking together the all‑purpose flour, cornstarch, baking powder, salt, and pepper in a large mixing bowl. The dry ingredients should be evenly distributed to avoid lumps. This dry mix forms the foundation of our light, airy batter. Keep the bowl aside; we’ll add the wet ingredients shortly.
- In a separate bowl, beat the egg and then whisk in the cold water until the mixture is smooth. The cold water helps keep the batter thin, ensuring the coating is crisp rather than heavy. Pour this wet mixture into the dry mix, stirring slowly to combine. You should end up with a pourable, slightly thick batter—just enough to coat the chicken evenly.
- While the batter rests for a few minutes, combine the soy sauce, rice vinegar, honey, orange juice, minced garlic, and grated ginger in a small saucepan. Warm the sauce over medium heat until it starts to thicken slightly, stirring constantly. This is the glaze that will coat the chicken; keep it at a gentle simmer so it doesn’t burn.
- Heat vegetable oil in a deep skillet or a wok to 350°F (175°C). You can test the temperature by dropping a small drop of batter into the oil; if it sizzles and rises to the surface quickly, the oil is ready. A properly heated oil ensures a crisp exterior and prevents the chicken from absorbing too much oil.
- Dip each chicken bite into the batter, letting any excess drip off, then carefully place it into the hot oil. Fry in batches to avoid overcrowding, which can lower the oil temperature and result in soggy bites. Cook each side for about 3–4 minutes, or until the batter is golden brown and the chicken is cooked through.
- Once all the chicken is fried, remove the pieces and place them on a paper‑towel lined plate to drain excess oil. This step is crucial; a quick drain keeps the bites from becoming greasy. While the chicken is still hot, pour the warm glaze over the pieces, tossing gently to ensure each bite is coated evenly.
- Transfer the glazed chicken to a serving platter. Sprinkle sesame seeds and sliced green onions over the top for a burst of color and a subtle crunch. The final presentation is both appetizing and Instagram‑ready, with a glossy glaze that glistens under the kitchen lights.
- Serve immediately while the bites are still warm and crispy. If you’re preparing ahead, keep the chicken warm in a low oven (250°F) and drizzle a little sesame oil on top before serving to revive the crunch. The aroma of fresh orange and sesame will fill your home, making everyone eager to dig in.
That’s it— you did it. But hold on, I’ve got a few more tricks that will take this to another level. The next section will dive into insider tips that refine every detail, from the perfect batter consistency to the ideal glaze thickness.
Insider Tricks for Flawless Results
The Temperature Rule Nobody Follows
Oil temperature is the holy grail of crispy chicken. Use a thermometer to ensure the oil stays between 350°F and 375°F. If you’re using a deep fryer, set it to 360°F; if you’re heating on the stovetop, keep a close eye on the oil’s surface. A quick test is to drop a small piece of batter; if it rises to the surface within 30 seconds and turns golden, you’re good. This step prevents soggy bites and guarantees a crunchy exterior.
Why Your Nose Knows Best
Smell is the first indicator that your glaze is ready. When the honey and orange juice begin to caramelize, you’ll notice a sweet, citrusy aroma that signals the glaze is thickening. A subtle hint of garlic and ginger will also emerge, adding depth. If the smell lingers too long, you risk over‑cooking the glaze, turning it into a syrup.
The 5-Minute Rest That Changes Everything
After frying, let the chicken rest for five minutes on a rack or paper towels. This short rest allows the steam to escape, keeping the coating crisp. It also lets the glaze set slightly, preventing it from sliding off when you pick up the bite. A friend once tried to serve the chicken immediately and the glaze slid off, ruining the presentation.
Keep the Batter Light with Cold Water
Using cold water in the batter is a subtle trick that many overlook. Cold water prevents the batter from thickening too quickly, allowing it to coat the chicken evenly. It also helps the batter stay airy, preventing a dense crust. If you’re in a hurry, you can substitute cold sparkling water for an extra lift.
Finish with Sesame Oil for Extra Aroma
A light drizzle of toasted sesame oil at the end adds a nutty fragrance that enhances the citrus notes. It also gives the glaze a glossy finish. Be careful not to overdo it; a few drops are enough to elevate the dish. If you’re allergic to sesame, use a tiny splash of olive oil instead.
Creative Twists and Variations
This recipe is a playground. Here are some of my favorite ways to switch things up:
Spicy Orange Chicken Bites
Add a dash of sriracha or a pinch of crushed red pepper flakes to the glaze for heat. The heat balances the sweetness, creating a dynamic flavor profile. Serve with a cooling cucumber slaw to tame the spice.
Honey‑Ginger Glaze Swap
Replace the orange juice with fresh ginger juice and add a splash of honey for a warm, aromatic glaze. The ginger’s earthiness complements the chicken’s natural flavor. This version is perfect for autumn gatherings.
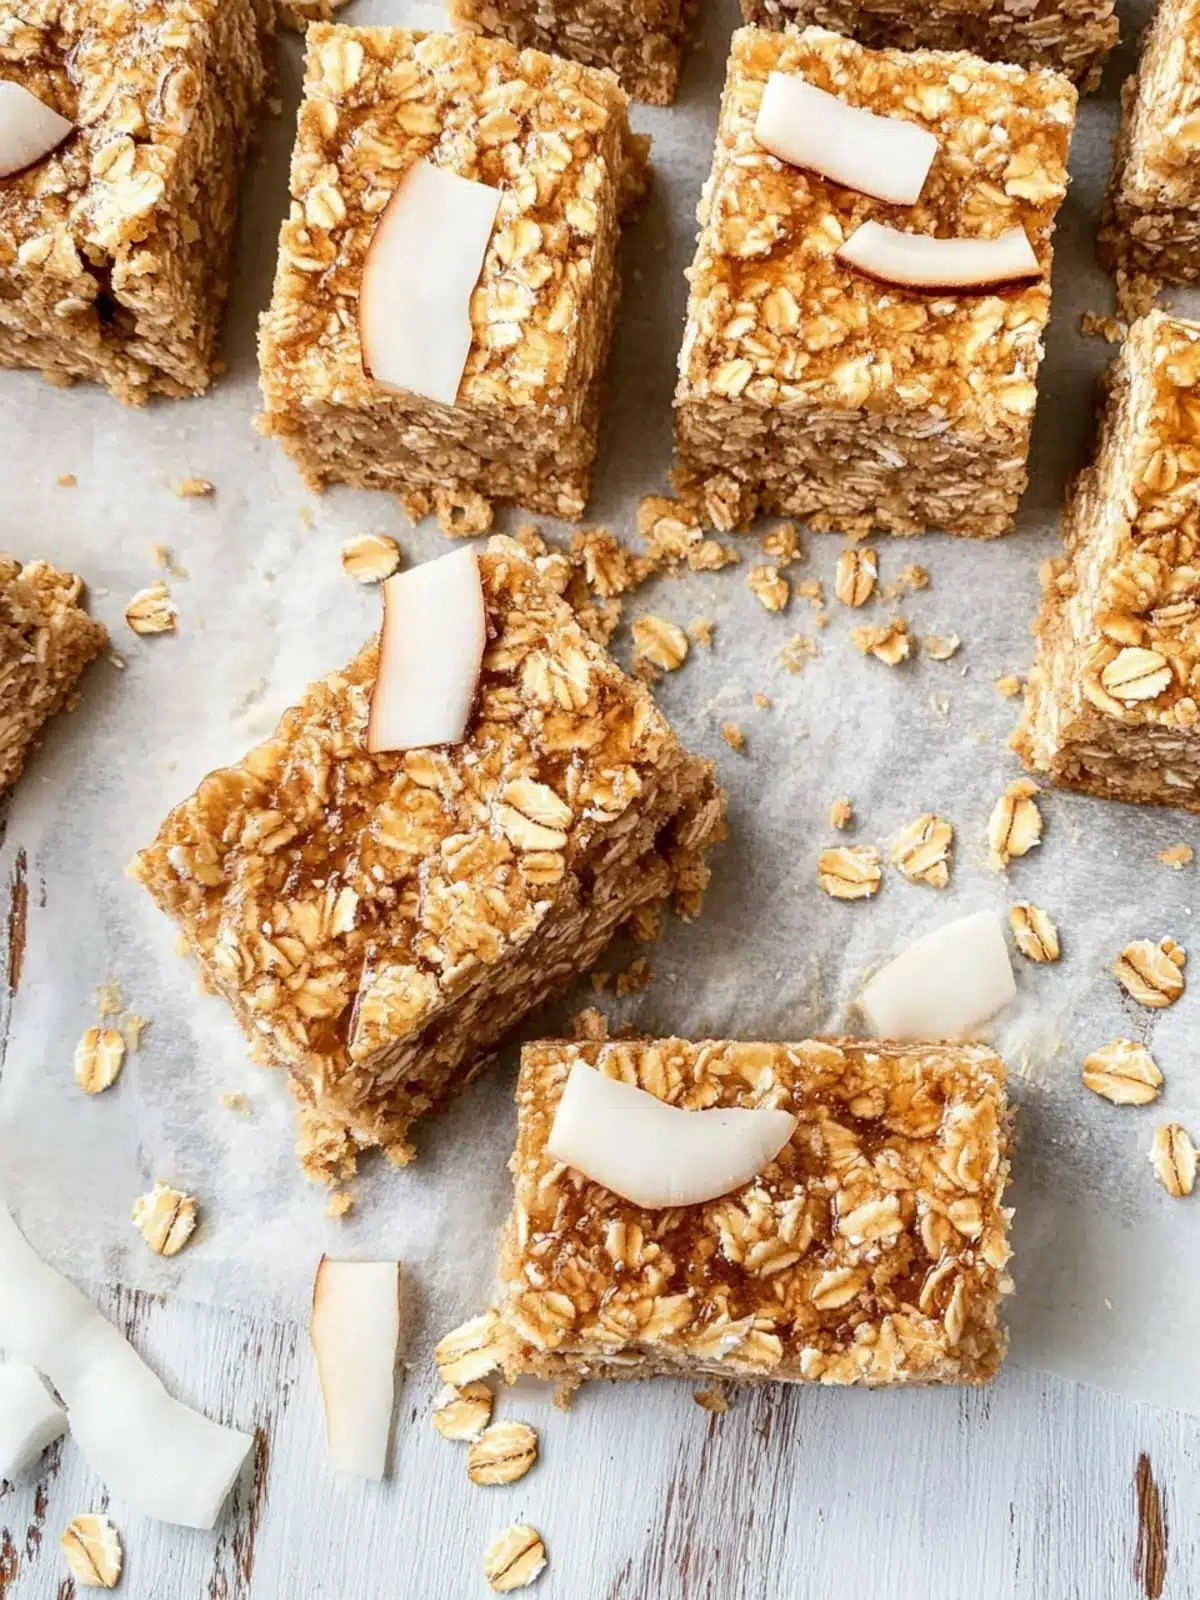
Coconut‑Infused Bites
Use coconut milk in place of water in the batter for a subtle coconut flavor. Toss the fried bites in a coconut‑yogurt sauce for a tropical twist. Pair with pineapple salsa for a beach‑ready meal.
Balsamic Glaze Variation
Swap the orange glaze for a balsamic reduction with a touch of honey. The acidity of the balsamic cuts through the richness of the fried coating. This version pairs well with a fresh arugula salad.
Almond Crusted Bites
Replace the flour and cornstarch mix with finely ground almonds for a nutty crunch. The almond batter adds protein and a nutty flavor that pairs wonderfully with the orange glaze. This variation is great for gluten‑free diners.
Vegetarian Option
Swap chicken for bite‑size tofu cubes or seitan. Follow the same batter and frying method for a plant‑based version. The tofu absorbs the glaze beautifully, offering a similar crispy texture.
Storing and Bringing It Back to Life
Fridge Storage
Store leftovers in an airtight container in the refrigerator for up to 3 days. Keep the glaze separate in a small jar; this prevents the coating from becoming soggy. When ready to reheat, drizzle a splash of water to create steam that helps restore crispness.
Freezer Friendly
Freeze individual bites on a parchment‑lined tray for up to 2 months. Once frozen, transfer them to a freezer bag. The batter freezes well and retains its texture when reheated.
Best Reheating Method
Reheat in a preheated oven at 375°F (190°C) for 8–10 minutes, or until the coating is crisp again. Avoid microwaving, as it will make the coating soggy. A quick drizzle of sesame oil before serving can revive the aroma and finish.