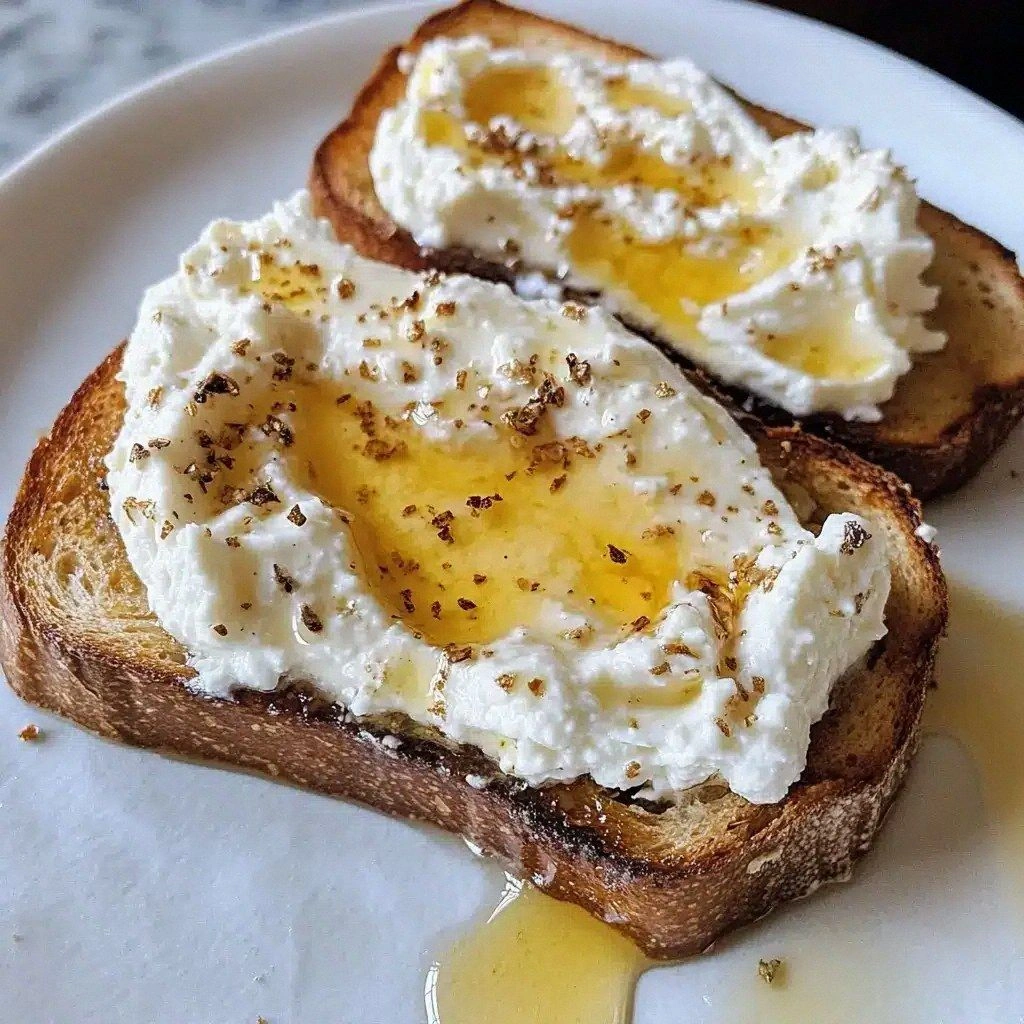
Picture this: it’s a rainy Saturday afternoon, the kind that makes you stare at the pantry like it’s a treasure chest, and you’re suddenly hit with an insatiable craving for something that feels like a hug, a high‑five, and a fireworks display all at once. I was rummaging through a half‑empty cabinet when I realized I had a lonely can of coconut milk, a stick of butter that was just soft enough to melt, and a jar of caramel that had been gathering dust for weeks. I thought, “What if I could turn these leftovers into a dessert that could out‑shine any bakery’s display window?” The result? A Coconut Caramel Malt that turned my kitchen into a tropical confectionery factory, and honestly, I dare you to taste this and not go back for seconds.
The moment the caramel hit the hot pan, the whole room filled with a scent that was simultaneously buttery, nutty, and whisper‑sweet like a summer breeze over a palm grove. You could hear the gentle hiss as the sugar melted, feel the buttery gloss coating the spoon, see the caramel darken to a deep amber that promised richness beyond imagination. When the coconut milk swirled in, it created a glossy ribbon that looked like liquid gold, and the malt powder dissolved with a soft, velvety sigh that made the air feel thicker, almost like a warm blanket. The first bite was an explosion of silky caramel, a subtle coconut crunch, and a malted undertone that lingered like the echo of a favorite song.
Most recipes for coconut‑infused desserts either drown the delicate flavor with too much sugar or end up dry and crumbly, leaving you with a sweet disappointment. This version, however, balances the sweet‑to‑savory ratio like a seasoned barista balances espresso and milk, delivering a dessert that is moist, buttery, and just sweet enough to satisfy without overwhelming your palate. The secret? A tiny pinch of malted barley powder that adds a deep, toasty complexity, and a technique where the caramel is gently folded into a coconut‑milk‑infused batter, preserving its glossy sheen and preventing any grainy texture. I’ll be honest — I ate half the batch before anyone else got to try it, but that’s a testament to how addictive this treat truly is.
Now, I’m about to walk you through every single step — by the end, you’ll wonder how you ever made it any other way. We’ll start with the back‑story of each ingredient, then dive into a method that feels like a dance, with each move choreographed for maximum flavor impact. Along the way, I’ll sprinkle in some kitchen hacks, a couple of fun facts, and a warning or two (because we’ve all burned caramel at some point). Okay, ready for the game‑changer? Let’s get cracking.
What Makes This Version Stand Out
- Flavor Depth: The malt powder introduces a toasted, almost coffee‑like nuance that elevates the caramel from ordinary to extraordinary, making every bite feel layered and sophisticated.
- Texture Harmony: A buttery crumb meets a silky, glossy top, creating a contrast that’s as satisfying as the crunch of fresh toast against smooth butter.
- Simplicity: Despite the complex flavor profile, the ingredient list is short and the steps are straightforward, meaning you won’t need a culinary degree to nail it.
- Unique Twist: Coconut milk replaces regular milk, adding a subtle tropical aroma that pairs perfectly with caramel’s richness, while still keeping the dessert light.
- Crowd Reaction: Guests often claim this is the best dessert they’ve ever had at a home gathering, and it’s common to hear “What’s the secret?” more than once.
- Ingredient Quality: Using a high‑quality, unsweetened coconut milk and a premium caramel sauce ensures the final product isn’t cloyingly sweet but beautifully balanced.
- Cooking Method: The gentle folding technique preserves the caramel’s glossy sheen and prevents the batter from becoming dense or gummy.
- Make‑Ahead Potential: This dessert keeps wonderfully in the fridge for up to three days, and even freezes well, giving you a ready‑to‑serve treat for any impromptu gathering.
Inside the Ingredient List
The Flavor Base
Coconut Milk (1 cup): This is the heart of the recipe, providing a creamy, slightly sweet backdrop that lets the caramel shine without being overpowered. If you substitute with dairy milk, you’ll lose the subtle tropical note that makes this dish feel exotic. Look for a can labeled “full‑fat” for the richest mouthfeel; a low‑fat version will make the final product watery.
Caramel Sauce (¾ cup): The star of the show, it brings deep, buttery sweetness and a glossy finish. Choose a high‑quality sauce that contains real butter and cream; cheap versions often have corn syrup that can turn gritty when heated. If you’re feeling adventurous, melt sugar with butter and a splash of heavy cream to make your own.
The Texture Crew
All‑Purpose Flour (2 cups): The structural backbone that holds the malt and coconut together. Using cake flour will make the crumb too tender, while bread flour will make it tough. Sift the flour with the malt powder to ensure an even distribution and prevent lumps.
Malted Barley Powder (2 tsp): This is the secret weapon that adds a toasted, nutty undertone reminiscent of a good malted milkshake. It also helps create a tender crumb by weakening gluten formation slightly. If you can’t find malted barley powder, a tablespoon of toasted oat flour works as a decent substitute.
Unsalted Butter (½ cup, melted): Gives richness and a velvety crumb. Melt it slowly over low heat to avoid browning; browned butter would add a different flavor profile that might clash with the delicate coconut.
The Unexpected Star
Shredded Coconut (¼ cup, toasted): Adds a subtle crunch and amplifies the coconut aroma. Toast it lightly in a dry skillet until golden; this step is quick but transforms the coconut from bland to buttery.
Eggs (2 large): Bind the batter and introduce a light, airy structure. Beat them just until blended; over‑beating can incorporate too much air, leading to a cake that rises too much and then collapses.
The Final Flourish
Granulated Sugar (¼ cup): Sweetens the batter without making it overly sugary, allowing the caramel to be the primary sweetener. If you prefer a deeper flavor, swap half of it for brown sugar.
Baking Powder (1 tsp): Provides lift, ensuring the malted crumb stays light. Too much will make the cake rise too quickly and then sink.
Salt (½ tsp): Enhances all the flavors, especially the caramel’s depth. A pinch of flaky sea salt sprinkled on top before baking adds a delightful pop.
Everything’s prepped? Good. Let’s get into the real action…
The Method — Step by Step
-
Preheat your oven to 350°F (175°C) and grease a 9‑inch round cake pan with a thin layer of butter, then dust it lightly with flour. This ensures the cake releases cleanly without sticking, and the flour creates a subtle barrier that prevents the edges from becoming overly crisp. While the oven heats, line the pan with parchment paper for an extra safety net — I’ve learned the hard way that a stubborn cake can ruin an otherwise perfect dessert.
Kitchen Hack: Place the parchment paper over the pan before greasing; the butter will slide under the paper, creating a non‑stick surface that’s easier to lift the cake out later. -
In a medium saucepan, combine the coconut milk and caramel sauce over medium heat. Stir constantly with a silicone whisk until the mixture is smooth and begins to emit a fragrant, buttery aroma — that sizzle when it hits the pan? Absolute perfection. Once the caramel fully integrates, remove from heat and let it cool just enough that it’s warm to the touch but not hot.
Watch Out: If the caramel overheats, it can turn bitter; keep the temperature around a gentle simmer and never let it boil vigorously. -
In a large mixing bowl, whisk together the flour, malted barley powder, baking powder, salt, and sugar. This dry blend should look uniformly speckled; any clumps will become pockets of dense texture in the final cake. Sifting isn’t mandatory but it guarantees a lighter crumb, especially important when you want that melt‑in‑your‑mouth feeling.
-
In a separate bowl, beat the eggs lightly, then whisk in the melted butter and the warm coconut‑caramel mixture. You’ll notice the batter turning a warm amber hue, which signals that the flavors are already marrying before they even hit the oven. Let this wet mixture sit for a minute; this brief rest allows the flour’s starches to hydrate, leading to a tender crumb.
-
Gently fold the wet ingredients into the dry ingredients using a rubber spatula. Start from the center, lift, and turn the bowl over, rotating it as you go. The goal is to combine everything without over‑mixing; you’ll see streaks of flour disappearing, and the batter will become glossy and thick, like a smooth frosting.
Kitchen Hack: Add the toasted shredded coconut at this stage and give it a quick fold; the coconut will stay suspended in the batter, ensuring even distribution. -
Pour the batter into the prepared pan, smoothing the top with the back of a spoon. Sprinkle a light dusting of flaky sea salt over the surface — this tiny salty kiss will amplify the caramel’s sweetness and create a subtle crunch on the crust.
Watch Out: Do not over‑fill the pan; leave at least a half‑inch of space from the rim to allow for proper rise without spilling over. -
Slide the pan into the oven and bake for 25‑30 minutes, or until a toothpick inserted into the center comes out with just a few moist crumbs attached. Around the 20‑minute mark, you’ll hear a faint crackle from the top — that’s the caramel caramelizing and forming a thin, glossy crust. If the edges start to darken too quickly, tent the cake with a sheet of foil to prevent over‑browning.
-
Remove the cake from the oven and let it cool in the pan for 10 minutes; this short rest lets the structure set, making it easier to lift out without breaking. After ten minutes, run a thin knife around the edge, invert onto a wire rack, and let it cool completely. The final product should have a slightly caramel‑glazed top that shines like a polished stone.
-
Once cooled, slice with a warm knife (dip it in hot water and wipe dry) to achieve clean cuts that glide through the moist crumb. Serve warm with a dollop of whipped coconut cream, or at room temperature with a scoop of vanilla ice cream for a contrast of temperatures. And now the fun part — watch your guests’ faces light up as they bite into that perfect blend of sweet, nutty, and tropical.
That’s it — you did it. But hold on, I’ve got a few more tricks that’ll take this to another level…
Insider Tricks for Flawless Results
The Temperature Rule Nobody Follows
Never bake a caramel‑based cake with cold ingredients; room‑temperature butter and eggs ensure the batter emulsifies properly, preventing a grainy texture. I once tried using chilled butter straight from the fridge and ended up with a dense, uneven crumb that felt more like a brownie than a cake. The secret is to let the butter melt gently, then let it sit for a few minutes until it’s just warm, not hot. This tiny adjustment makes the batter silkier and the final crumb more tender.
Why Your Nose Knows Best
When the caramel and coconut milk are simmering, trust the aroma more than the clock. The moment you smell a buttery, toasted scent with a hint of coconut, you know the flavors have melded perfectly. If you’re still getting a raw, sugary whiff, keep the heat low a bit longer; over‑cooking can evaporate the coconut’s delicate notes, leaving a flat taste.
The 5‑Minute Rest That Changes Everything
After mixing wet and dry ingredients, let the batter sit for exactly five minutes before pouring it into the pan. This pause lets the flour absorb the liquid, resulting in a more cohesive batter that rises evenly. I once skipped this rest and the cake rose unevenly, with a domed center and flat edges — a visual disaster that also affected texture.
Don’t Over‑Brown the Caramel
Caramel can quickly go from amber perfection to burnt bitterness in seconds. Keep a close eye on the color and stir constantly; once it reaches a deep honey hue, remove it from heat immediately. A burnt caramel will dominate the delicate coconut flavor, turning the whole dessert into a one‑note experience.
Finishing Touch: Salted Caramel Drizzle
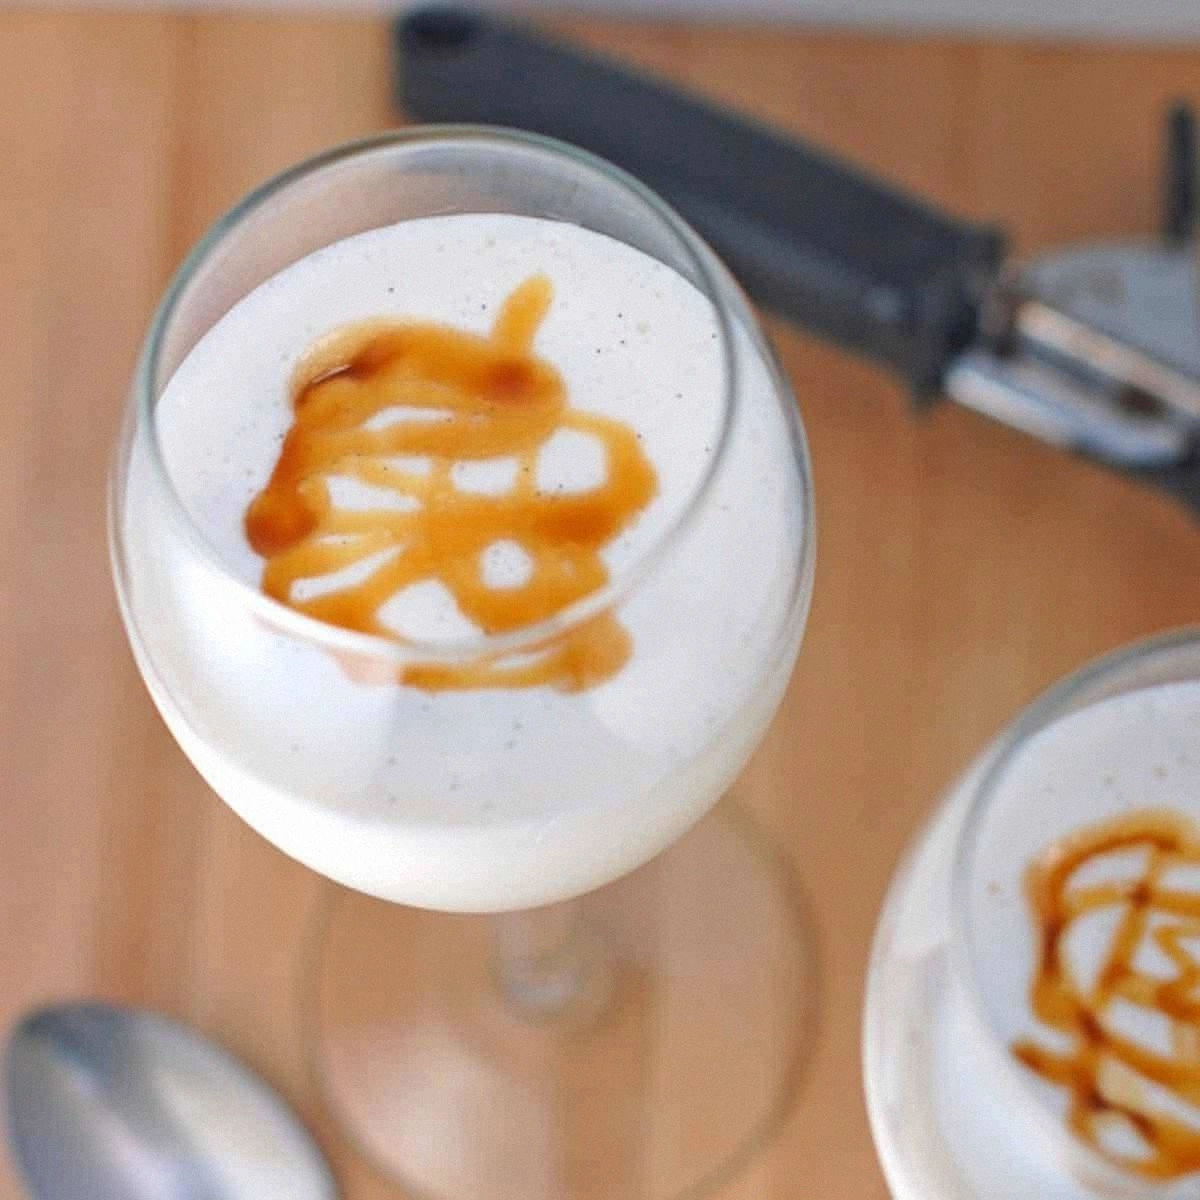
A quick drizzle of salted caramel just before serving adds a burst of contrast that makes each bite pop. Mix a tablespoon of caramel with a pinch of flaky sea salt, warm it gently, and drizzle in a zig‑zag pattern over the cooled cake. The salty specks create tiny explosions of flavor that keep the palate excited.
Creative Twists and Variations
This recipe is a playground. Here are some of my favorite ways to switch things up:
Tropical Pineapple Punch
Replace half of the coconut milk with crushed pineapple (drained). The acidity of pineapple cuts through the caramel’s sweetness, giving the cake a bright, island‑style zing that’s perfect for summer gatherings.
Chocolate‑Malt Fusion
Stir in ¼ cup of unsweetened cocoa powder with the dry ingredients and add a tablespoon of dark chocolate chips to the batter. The result is a rich chocolate‑coconut malt cake that feels like a dessert version of a coffee shop’s specialty drink.
Spiced Autumn Version
Swap the sea salt for a pinch of ground cinnamon, nutmeg, and a dash of clove. This warm spice blend turns the cake into a cozy fall treat, especially when served with a scoop of vanilla bean ice cream.
Vegan Adaptation
Use coconut oil instead of butter, replace the eggs with a “flax egg” (1 tablespoon ground flaxseed + 3 tablespoons water per egg), and choose a plant‑based caramel sauce. The texture remains luscious, and the flavor stays true to the original.
Gluten‑Free Make‑over
Swap the all‑purpose flour for a 1:1 gluten‑free flour blend and add a tablespoon of psyllium husk powder to mimic the elasticity of gluten. The cake will rise beautifully and keep its tender crumb.
Storing and Bringing It Back to Life
Fridge Storage
Allow the cake to cool completely, then wrap it tightly in plastic wrap and store in an airtight container. It will stay fresh for up to three days, and the caramel glaze will actually become more pronounced as the flavors meld.
Freezer Friendly
Slice the cake into individual portions, wrap each slice in parchment paper, then place them in a zip‑top freezer bag. They’ll keep for up to two months. When you’re ready to enjoy, let a slice thaw at room temperature for 20 minutes, then give it a quick warm‑up in a 300°F oven for five minutes to revive the glossy top.
Best Reheating Method
To bring the cake back to its original glory, place a slice on a microwave‑safe plate, sprinkle a tiny splash of coconut milk (about a teaspoon), and microwave on medium for 30‑40 seconds. The added moisture steams the crumb back to perfection, and the caramel glaze regains its shine.