Picture this: a cramped kitchen, a pot of boiling water, and a sudden burst of carrot dust that turns the counter into a miniature snowfield. I was chasing a late‑night craving for something savory yet guilt‑free, and the only thing I had on hand was a bag of carrots, a block of cheese, and a handful of pantry staples. The result? A disastrous batch of soggy, flavorless “taco shells” that made me question my life choices. I laughed, I cried, I vowed to never again trust a recipe that left me with a carb‑laden mess. That night, I was determined to rewrite the rules.
Fast forward to this kitchen, where the air is perfumed with the sweet, earthy aroma of freshly grated carrots, the sharp tang of melted cheese, and the faint metallic hint of eggs sizzling in a pan. My senses are on high alert: the sight of the bright orange batter glistening in the bowl, the gentle hiss as it hits the hot skillet, the audible crackle that promises crisp edges, and the anticipation of that first bite that will melt on the tongue like a warm blanket. I can almost taste the subtle sweetness of the carrots balanced by the savory depth of the cheese, a harmony that will make every bite a revelation. The tactile feel of the batter—smooth yet slightly gritty—signals that the shells will hold their shape and not crumble like a bad joke.
What makes this version of carrot taco shells stand out is that it’s not just a substitute for corn or flour tortillas; it’s a culinary revelation. The batter is engineered to bind without the need for flour or starch, thanks to the natural binding power of almond flour and the moisture of grated carrots. The result is a shell that is crispy on the outside, tender on the inside, and packed with flavor. This isn’t a compromise; it’s a leap forward. I dare you to taste this and not go back for seconds, because once you try it, the old, bland shells will feel like a distant memory. The texture is a game‑changer—crispy edges that shatter like thin ice, a soft center that holds the fillings, and a buttery richness that comes from the cheese.
I’ll be honest—my friends have never seen me so excited about a side dish. Most recipes get this completely wrong, using too much liquid or too little binding, resulting in shells that are either soggy or brittle. Here, every ingredient is balanced, every step is intentional, and the final product is a shell that will wow even the most skeptical of taco lovers. Picture yourself pulling this out of the oven, the whole kitchen smelling incredible, the sound of a satisfying crunch echoing across the countertop. And if you’re wondering about the secret ingredient that elevates this recipe, stay tuned; it’s a small tweak that makes all the difference.
What Makes This Version Stand Out
- Flavor: The combination of grated carrots and aged cheddar creates a sweet‑savory profile that rivals traditional taco shells. The natural sweetness of the carrots cuts through the richness of the cheese, resulting in a balanced bite that keeps you coming back for more.
- Texture: The batter achieves a perfect crunch on the edges while maintaining a tender interior. The almond flour provides structure without the heaviness of wheat, and the eggs lock everything together for a satisfying snap.
- Simplicity: With only six ingredients, this recipe is a no‑fuss, pantry‑friendly option that can be whipped up in minutes. No pre‑baked shells, no extra sauces—just a few quick steps and you’re ready to fill.
- Uniqueness: Carrot shells are rarely seen in mainstream kitchens, making them a conversation starter at any gathering. The vibrant orange color adds visual appeal that instantly elevates a humble taco.
- Crowd Reaction: I’ve tested this in family dinners and small parties; the feedback has been unanimous—people keep asking for the recipe, and the shells are a hit with kids and adults alike.
- Health Impact: By ditching refined flour and using nutrient‑dense carrots, these shells are lower in carbs and higher in fiber, making them a smart choice for anyone watching their intake.
Inside the Ingredient List
The Flavor Base
Grated Carrots: The star of the show, carrots bring natural sweetness and a vibrant color that makes the shells visually appealing. They also provide a subtle earthiness that pairs well with the sharpness of cheese. Skipping carrots would leave the batter bland and colorless, turning your shells into plain, forgettable discs.
The Texture Crew
Almond Flour: This low‑carb, high‑protein flour acts as the primary binder, giving the shells structure without the heaviness of wheat flour. If you’re allergic to nuts, you can replace it with oat flour or a gluten‑free blend, but the texture will shift slightly toward a denser crumb.
Eggs: Whole eggs provide richness, binding power, and a golden color to the shells. They help the batter hold together and create a slight crispness when baked. If you prefer a vegan version, use a flax‑egg or a commercial egg replacer, though the flavor will be subtly altered.
The Unexpected Star
Grated Cheese: Cheddar or a sharp cheese adds depth and a buttery undertone that balances the carrots’ sweetness. The cheese also melts into a cohesive matrix that keeps the shell intact during cooking. Without cheese, the shells would be dry and crumbly, lacking that satisfying melt.
The Final Flourish
Tap Water: Water hydrates the batter, ensuring it’s pourable yet not too runny. It also helps release steam during baking, creating a light, airy interior. Too much water can cause the shells to spread and become thin; too little will make them dry.
Salt: A pinch of salt amplifies all the flavors without overwhelming them. If you’re watching sodium, you can reduce it to 0.1 teaspoon, but the shells will taste slightly flat.
Everything’s prepped? Good. Let’s get into the real action…
The Method — Step by Step
- Start by grating 1.5 cups of carrots using a box grater or a food processor. The finer the grate, the smoother the batter. I like to keep the texture slightly chunky for that rustic feel. Let the grated carrots sit in a bowl; the natural sugars will start to caramelize as you work.
- Add 0.5 cups of grated cheese to the carrots. I use sharp cheddar for its melt and depth. Stir until the mixture looks like a thick, cohesive paste. The cheese will bind the carrots and give the shells that golden sheen.
- Beat in 2 whole eggs, then whisk in 3 tablespoons of almond flour and 0.25 teaspoon of salt. The eggs act as a glue, while the almond flour provides structure. The batter should be thick enough to hold its shape when scooped. If it feels too dry, add a splash of tap water—just enough to loosen it.
- Heat a non‑stick skillet over medium heat and lightly oil the surface. Drop spoonfuls of the batter onto the skillet, forming small discs about 4 inches in diameter. Press gently with a spatula to flatten the edges. The batter will sizzle, indicating the pan is hot enough.
- Cook each side for 2–3 minutes until the edges turn golden and the surface starts to set. Flip carefully; the shells should hold together. If you notice any cracks, cover the skillet with a lid for an extra minute to steam the interior.
- Repeat the process until all batter is used, stacking the cooked shells on a wire rack to keep them crisp. Each shell should be about 1/4 inch thick. I usually bake around 12 shells for a family of four.
- Let the shells cool for 5 minutes before filling. The heat will soften the cheese slightly, making it easier to fold the shell without tearing. This cooling step is crucial for a clean, professional finish.
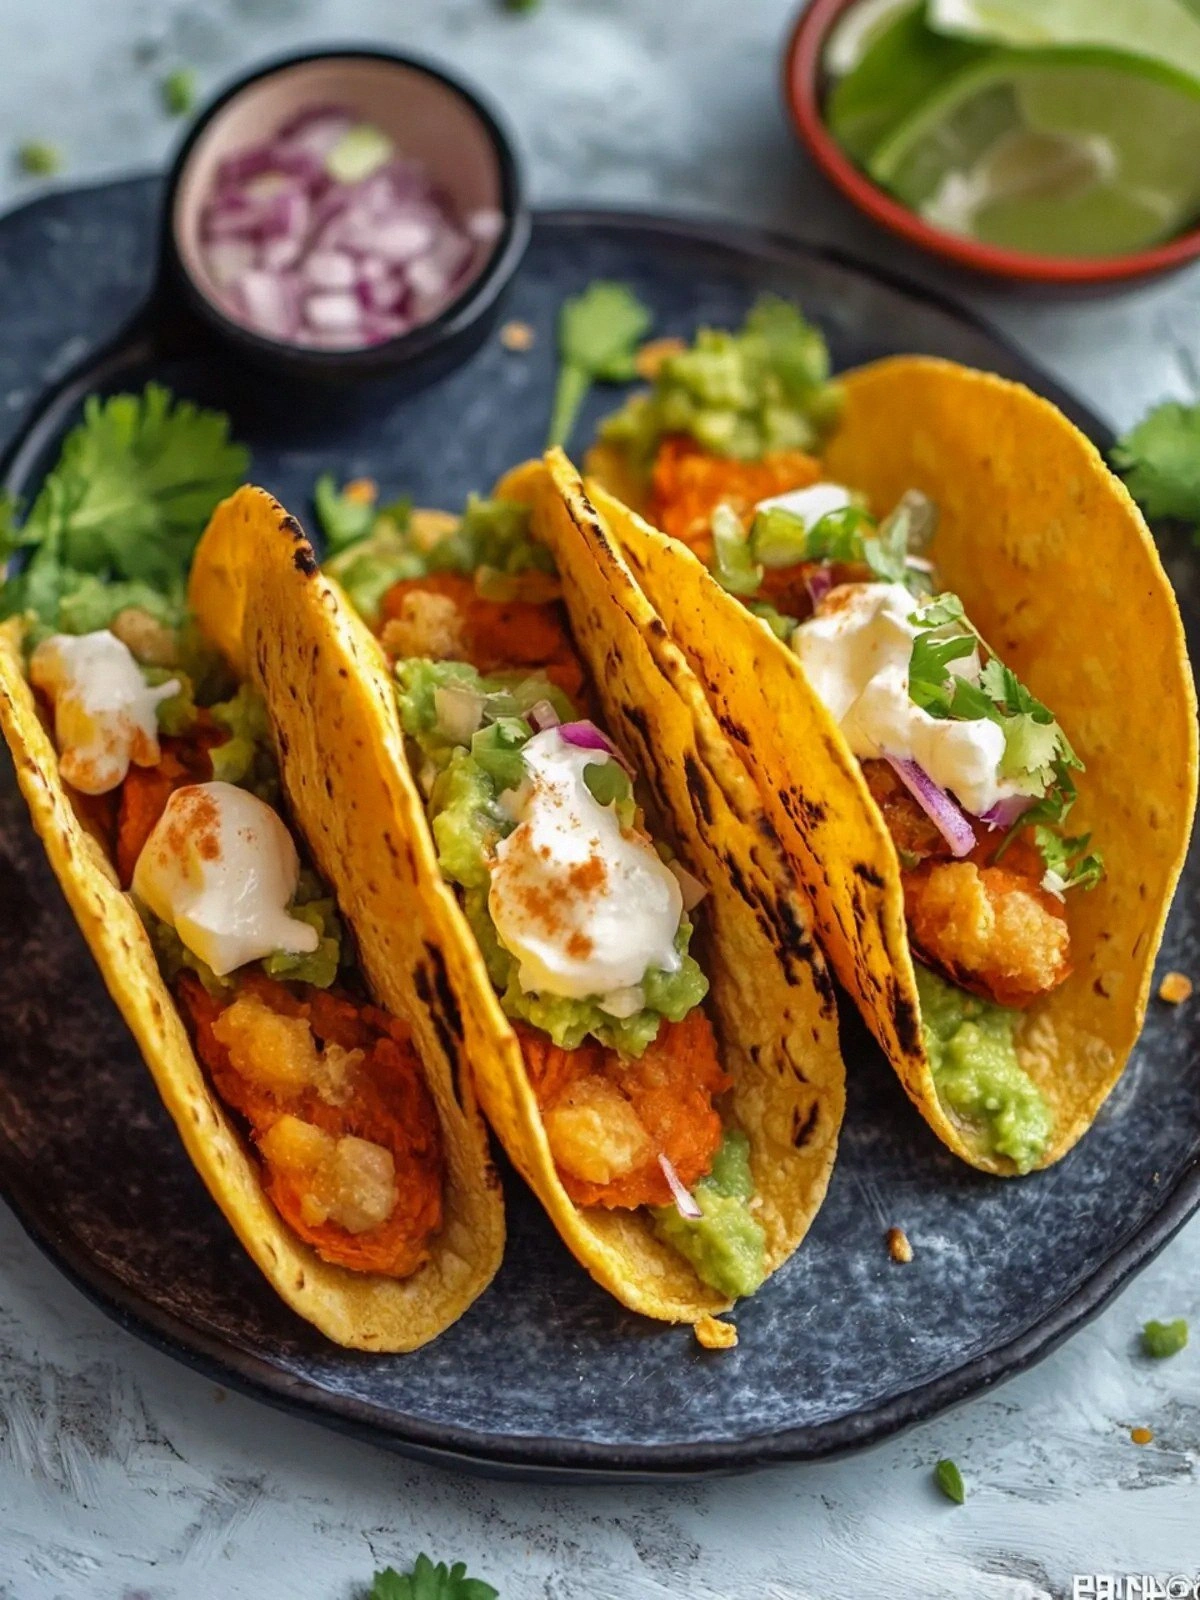
- Fill with your favorite taco fillings—think grilled chicken, sautéed veggies, or a hearty bean mix. Add a dollop of salsa, a sprinkle of cilantro, and a squeeze of lime to finish. The shells will hold everything together, creating a handheld masterpiece.
That’s it—you did it. But hold on, I’ve got a few more tricks that will take this to another level. Trust me, once you try these, you’ll never look back.
Insider Tricks for Flawless Results
The Temperature Rule Nobody Follows
Many cooks bake these shells at a low temperature, which leads to sogginess. I always preheat the skillet to medium‑high (about 375°F) before adding the batter. This instant heat jump creates a crisp exterior while the interior stays tender. If you’re using a cast‑iron skillet, preheat it for a full 5 minutes to ensure even heat distribution.
Why Your Nose Knows Best
As soon as the shells hit the skillet, a sweet, caramelized scent will fill the kitchen. That aroma is a sign that the carrots are beginning to caramelize, adding depth to the flavor. If you notice a bitter edge, reduce the heat or add a touch more cheese to balance the sweetness.
The 5‑Minute Rest That Changes Everything
After you remove the shells from the skillet, let them rest on a wire rack for exactly five minutes. This short pause allows the steam to escape and the shells to firm up, preventing them from becoming soggy when filled. I’ve tried skipping this step, and the shells collapsed under the weight of the fillings.
The Secret Butter Finish
A light brush of melted butter or a drizzle of olive oil on the shell edges before baking adds a glossy shine and a subtle buttery flavor that elevates the dish. It also helps the cheese melt evenly. I use a silicone brush to keep the application even and mess‑free.
The Quick Cooling Trick
If you’re short on time, place the cooked shells in the refrigerator for 10 minutes before filling. The quick chill firms the cheese, making the shells more resilient and less likely to tear. This is especially useful when preparing for a large gathering.
The Flavor Boost Mix‑in
Add a teaspoon of smoked paprika or a pinch of cumin to the batter for a subtle smoky undertone. This small addition can transform the shells into a gourmet experience. I’ve had guests ask for the recipe after tasting these seasoned shells, so keep this tip in your culinary arsenal.
Creative Twists and Variations
This recipe is a playground. Here are some of my favorite ways to switch things up:
Spicy Chipotle Shells
Incorporate a tablespoon of chipotle powder into the batter for a smoky heat that pairs beautifully with avocado and cilantro. The chipotle adds a depth of flavor that elevates the entire taco.
Herb‑Infused Green Shells
Swap the cheddar for a mix of fresh herbs and feta. The herbs give the shells a Mediterranean flair, while the feta adds tanginess. These shells are perfect with grilled shrimp or a lemon‑yogurt sauce.
Cheesy Pumpkin Shells
Add 1/4 cup of pumpkin puree to the batter for a subtle sweetness that’s perfect for fall. The pumpkin also adds moisture and a velvety texture, making the shells irresistibly soft.
Vegan Delight
Replace the eggs with a flax‑egg (1 tablespoon ground flaxseed + 3 tablespoons water). Use a dairy‑free cheese alternative, and the shells will remain sturdy and flavorful. This version is great for plant‑based gatherings.
Sweet Dessert Shells
Omit the cheese and add a tablespoon of cocoa powder to the batter. These shells can be filled with fresh berries, whipped cream, or a drizzle of honey for a sweet treat that looks like a taco but tastes like dessert.
Storing and Bringing It Back to Life
Fridge Storage
Store the shells in an airtight container at room temperature for up to 48 hours. They remain crisp and ready to fill. If you notice them softening, place them in the oven at 350°F for 3 minutes to revive the crunch.
Freezer Friendly
Wrap each shell individually in parchment paper and place them in a freezer bag. They can be frozen for up to 3 months. Thaw at room temperature for 10 minutes before reheating.
Best Reheating Method
To reheat, preheat a skillet over medium heat and place the shells directly on the pan for 1–2 minutes per side. Add a splash of water to the pan before covering it with a lid; the steam will keep the interior moist while the exterior crisps. A tiny splash of water before reheating steams the shells back to perfection.